
Are you tired of geographical restrictions and want to access content not available in your country? Or perhaps you’re concerned about your online privacy and security. Whatever your reason, learning how to use a proxy in Google Chrome can be a game-changer. In this guide, we’ll walk you through the process step by step in plain, simple language, without any tech jargon.
What is a Proxy?
Before diving into the details, let’s start with the basics. A proxy acts as an intermediary between your computer and the internet. It can hide your IP address, enabling you to surf the web anonymously. Think of it as a middleman that shields your identity from prying eyes.
Getting Started: Accessing Chrome’s Settings
1. Open Chrome: Launch your Google Chrome browser. If you don’t have it, download and install it.
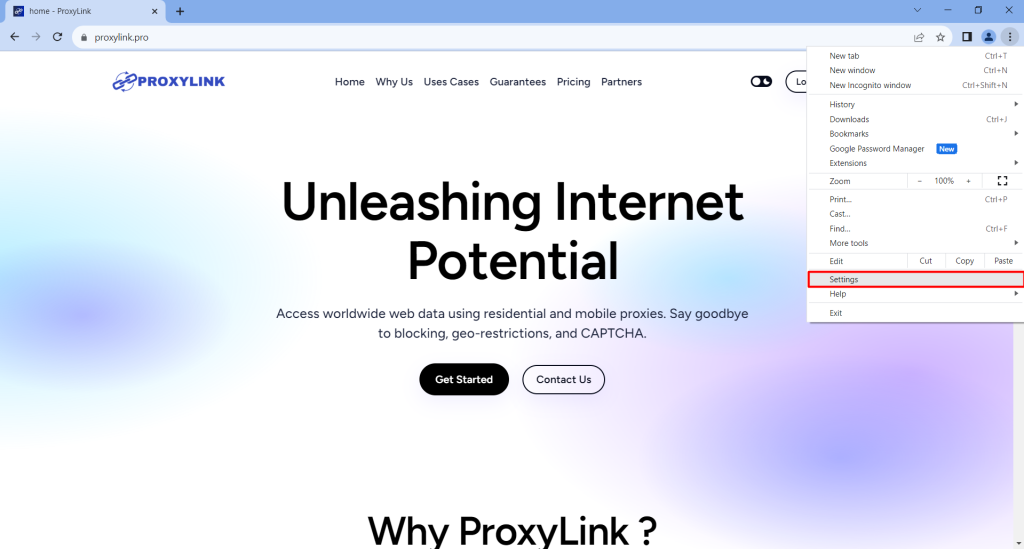
2. Click on the Three Dots: In the upper-right corner, click on the three vertical dots to open the menu.

3. Select ‘Settings’: Scroll down and click on « Settings. »
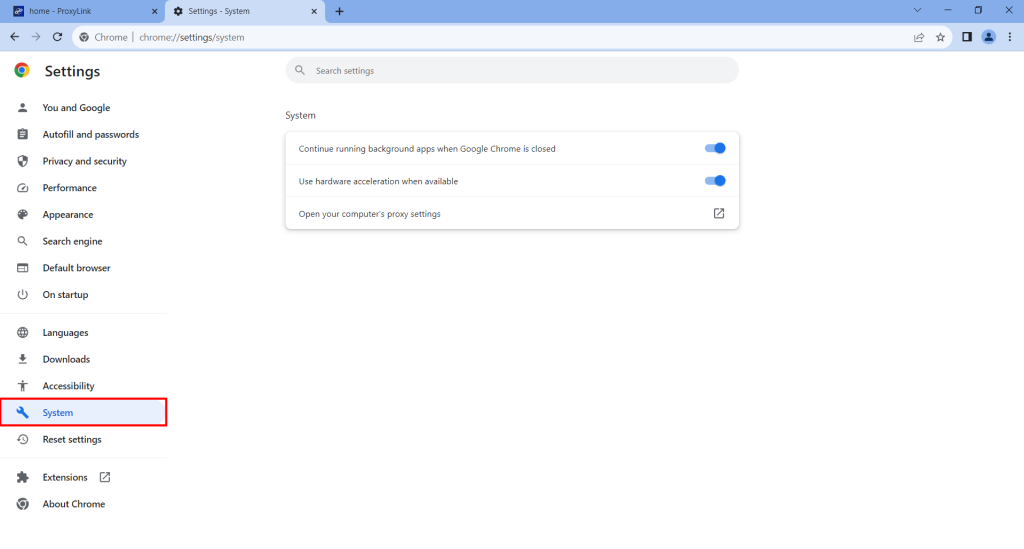
4. Navigate to ‘System’: Under the « Advanced » section, find « System » and click on it.
How to Change Proxy Settings in Google Chrome
Now, let’s configure your proxy settings on Windows:
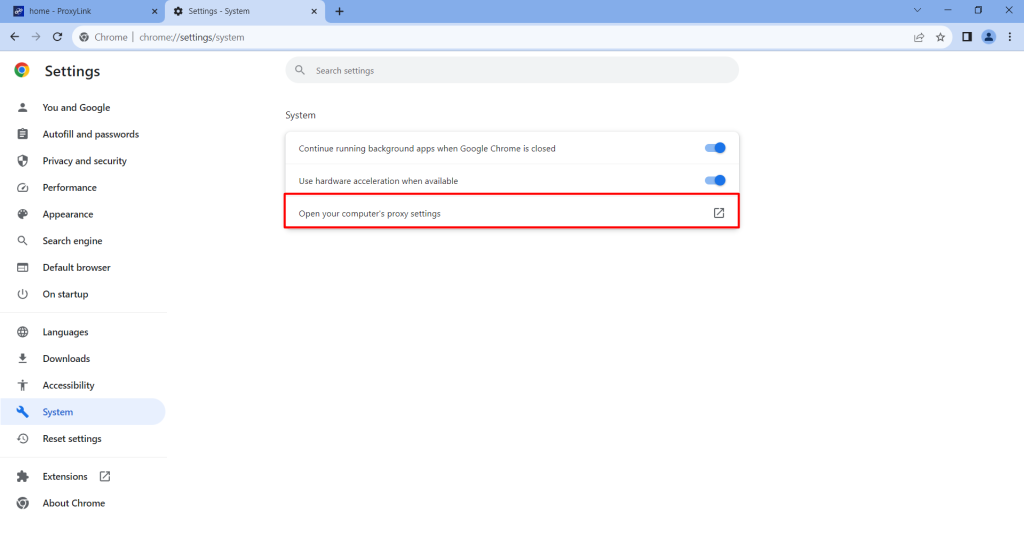
1. Open Proxy Settings in Chrome: Click on « Open your computer’s proxy settings. » This will direct you to your computer’s proxy settings.
2. Manual Proxy Setup: Scroll down to the « Manual proxy setup » section.
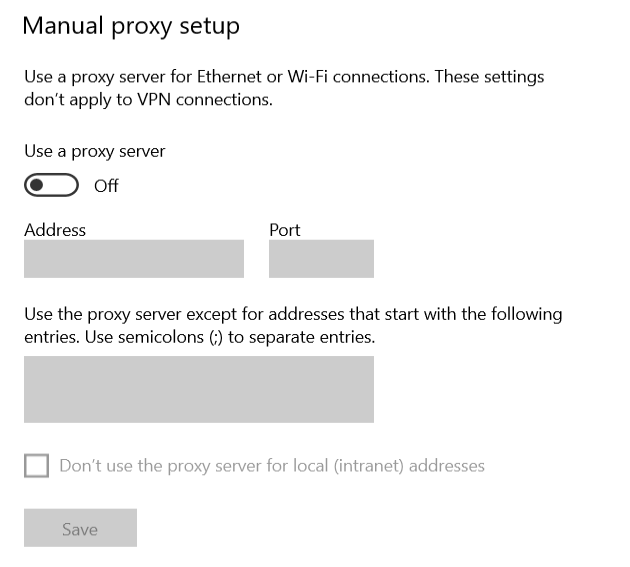
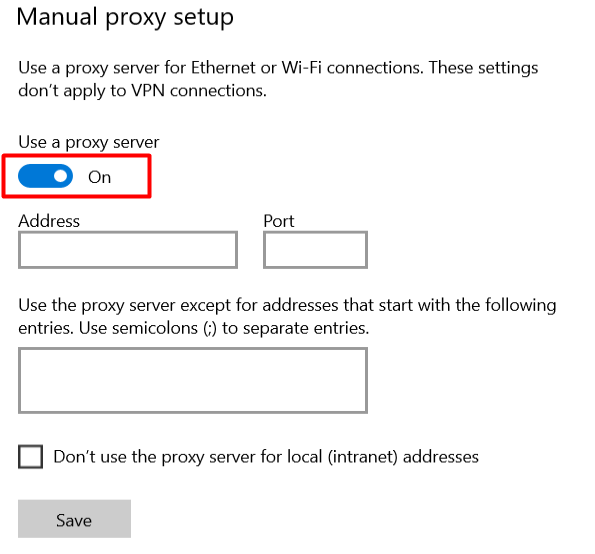
3. Turn On the Switch: Toggle the switch to turn on the manual proxy setup.
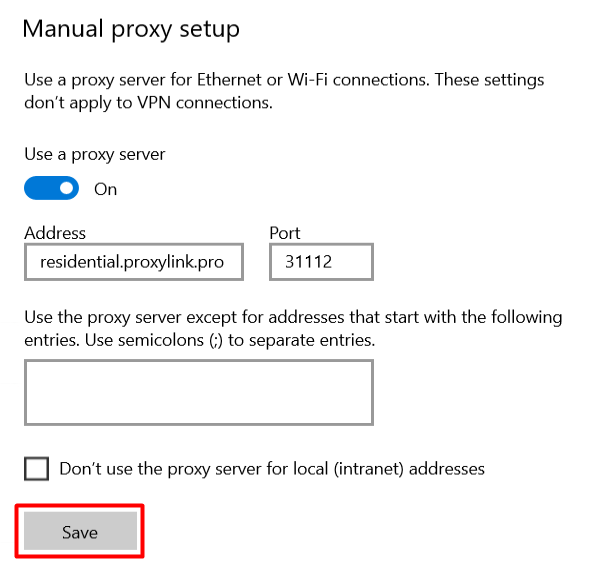
4. Enter Proxy Details And Save Changes: Here, you’ll need to enter the proxy server and port. Your proxy provider should give you these details. After entering the details, click « Save. »
Authentication: Securing Your Connection
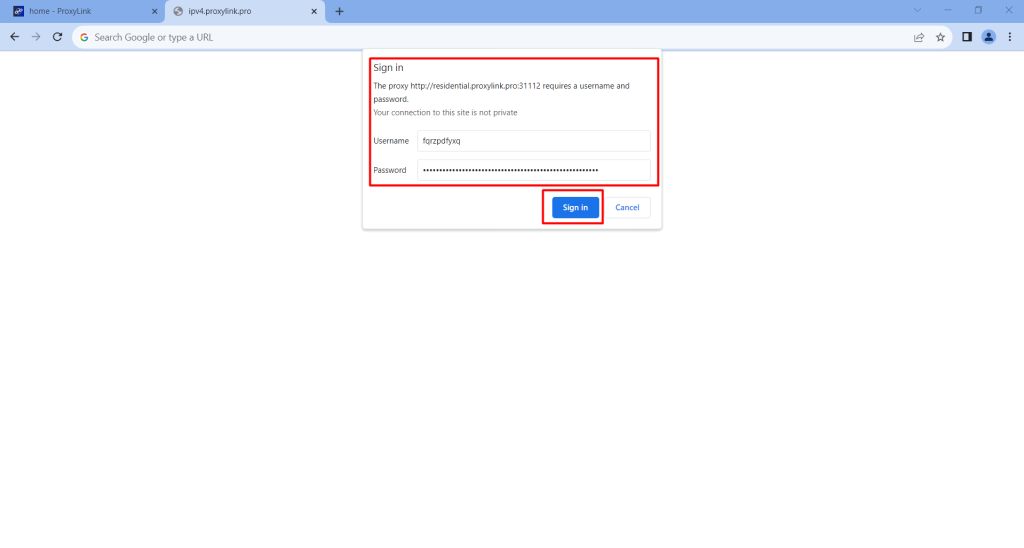
Authentication Required?: Depending on your proxy provider, you might need to enter a username and password for authentication. If required, enter the details:
Checking Your IP Address
1. Confirming Your Proxy: To ensure your proxy is active, don’t forget to check your IP address. It should display the IP address provided by your proxy, not your actual IP.

2. Web Browsing: Now that you’re all set up, start browsing the web with your new proxy. You’ll notice that your online experience is different as you can access region-restricted content.
Choosing the Right Proxy Type
There are different types of proxies, each serving a specific purpose. Let’s discuss two common ones:
1. HTTP Proxy
An HTTP proxy is suitable for web browsing and can be an excellent choice if you need to access geo-restricted websites. It’s like using a front door to access the internet.
2. SOCKS Proxy
A SOCKS proxy is more versatile and can handle various types of traffic, making it ideal for tasks like online gaming. It’s like having a master key to access different rooms on the internet. « unfortunately not suitable for windows proxy settings »
Conclusion
Congratulations! You’ve successfully learned how to use a proxy in Google Chrome. Whether it’s for privacy, security, or access to restricted content, using a proxy can be a valuable tool. Experiment with different proxy types and providers to find what works best for your needs.
FAQs