
Along with the growth of the Internet, there is a growing focus on efficiency, privacy and security. However, traditional browsers can no longer meet some specialized needs. For example, e-business, affiliate marketing, social media marketing, data analytics, multi-account anti-detect, anonymous browsing and so on. Therefore, an emerging anti-detect browser is becoming more and more popular. But the anti-detect browser should be used with the proxy to maximize its effect. Today’s post will introduce how to integrate VMLogin with ProxyLink.
What is VMLogin Antidetect Browser?
VMLogin Antidetect Browser mainly provides users with an unlimited unique browser fingerprint environment. The environment of each browser will be displayed as a natural and native local setting, effectively preventing user multiple accounts from being blocked.
It applies to all browser businesses, such as Google, Facebook, Twitter, Amazon, eBay, Etsy, TikTok, Tinder, PayPal, Stripe, Outlook, Gmail, and other online platform accounts registration, advertising verification, store operation, affiliate marketing, automated execution, web crawling and other industries.
How to Integrate VMLogin with ProxyLink?
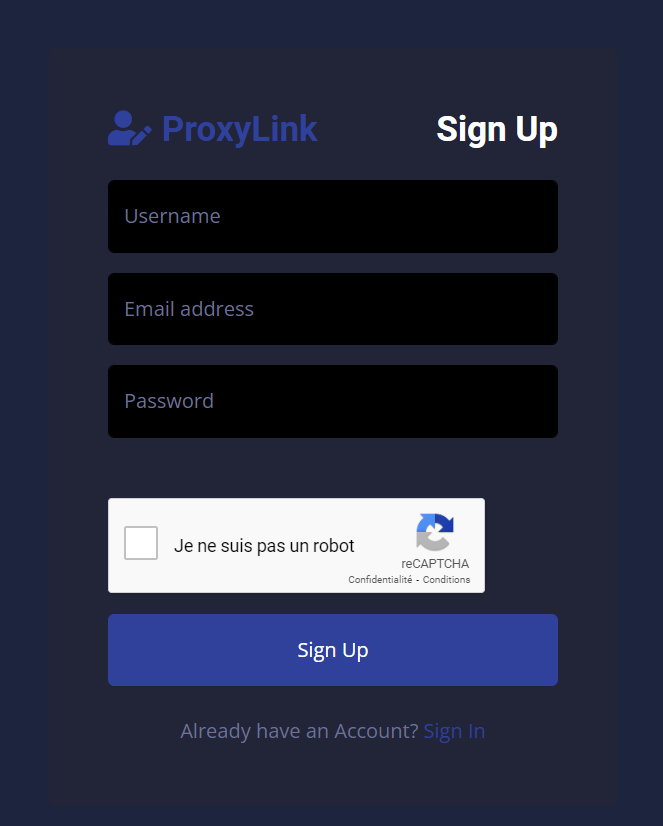
Step 1: Get ProxyLink
Register and log in to your ProxyLink account.
Step 2: Generate Your Proxies
After registering and logging into your account, choose the residential proxies that suits your needs. You can choose either static or rotating.
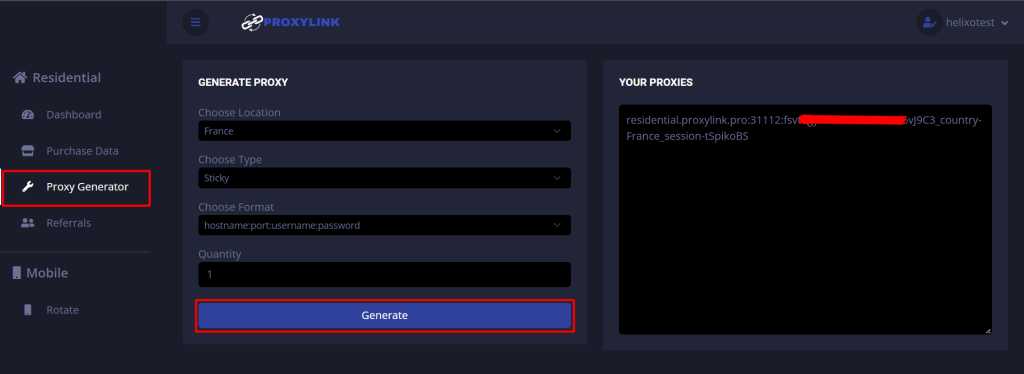
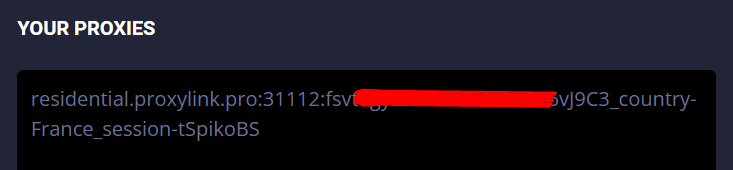
Step 3: Get Proxy Credentials
When the proxies selection is complete, you will receive your proxy credential. Please take note of this proxy credentials, you will need to use it later.
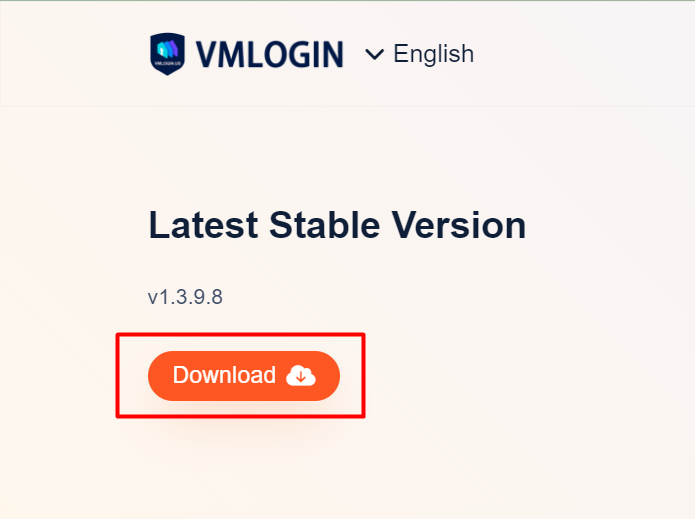
Step 4: Download and Install VMLogin Browser
Now, you need to download and install VMLogin Browser from the official website.
Step 5: VMLogin Settings
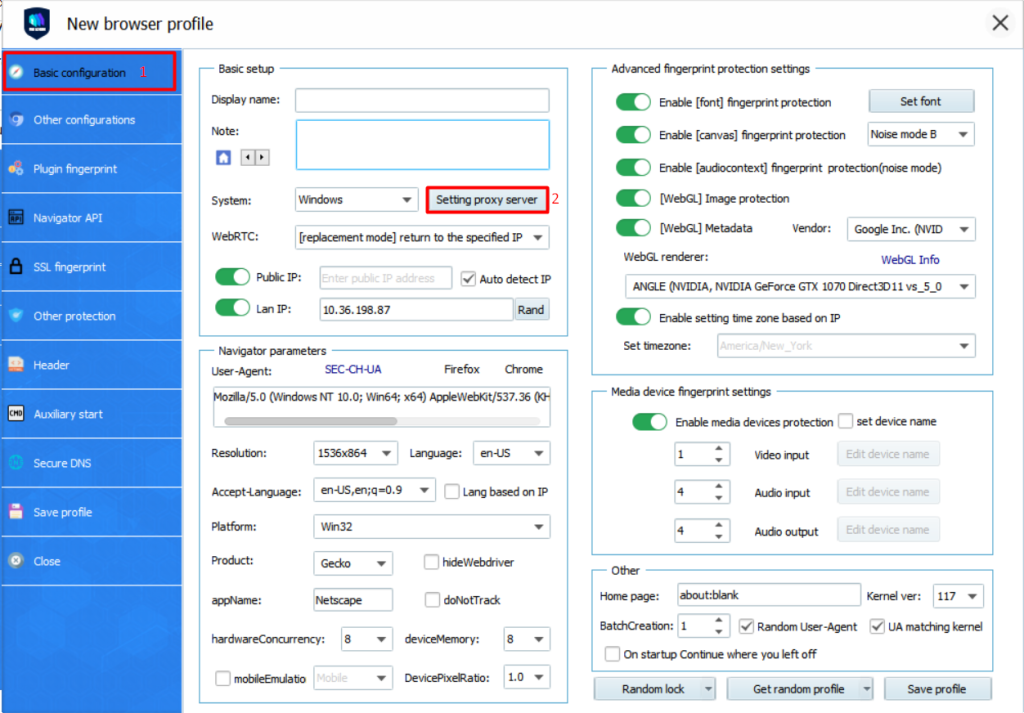
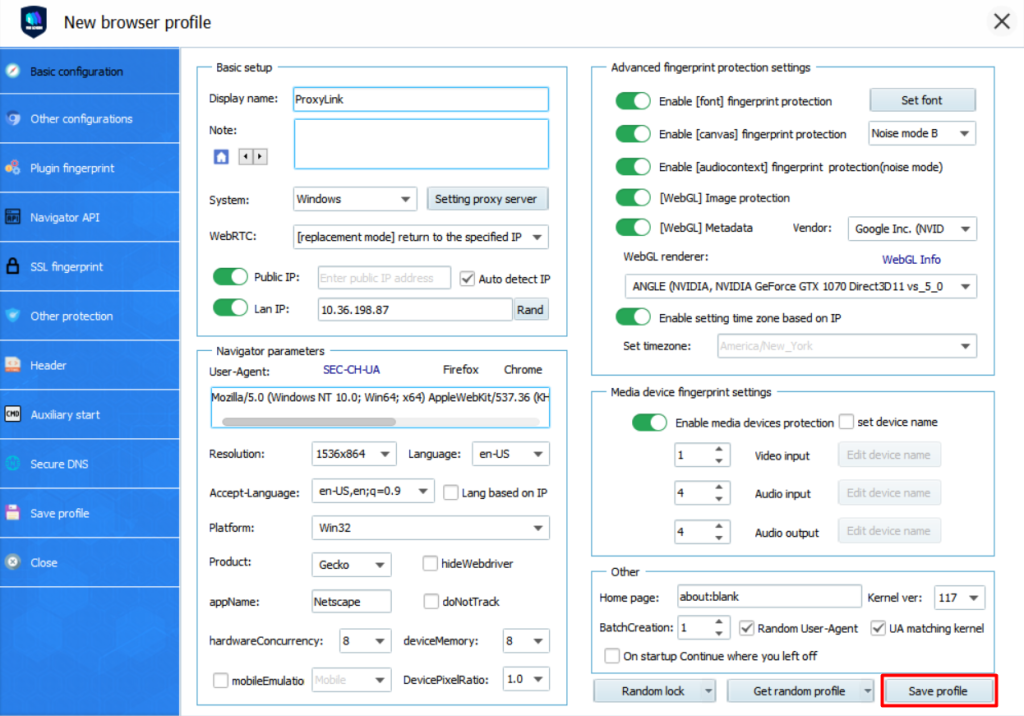
- Open the VMLogin client, and then click on the “New browser profile” or “Create a new profile”.

2. Click on “Basic configuration”, and then click “Setting proxy server”.
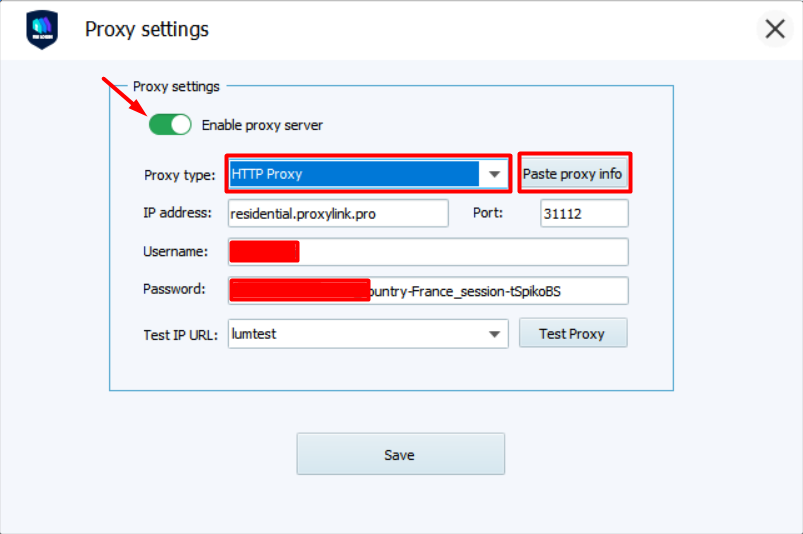
3. Fill in Proxy Credentials
Enable proxy server and select proxy type to “HTTP”. Then, click “Paste proxy info” with the proxy copied to your clipboard. (ProxyLink’s residential proxies are in HTTP).
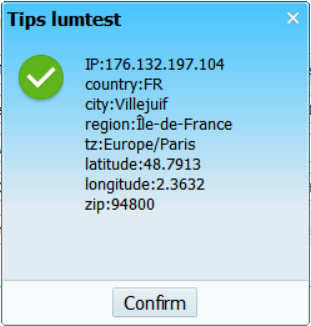
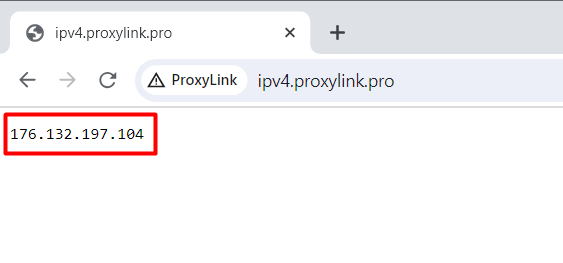
4. Once the proxy settings are done, click “Test Proxy” to verify that the function is working. If the test is succeeded, the IP address, country region and other information will be displayed. Then click “Confirm”.
5. Now, you need to Save profile.
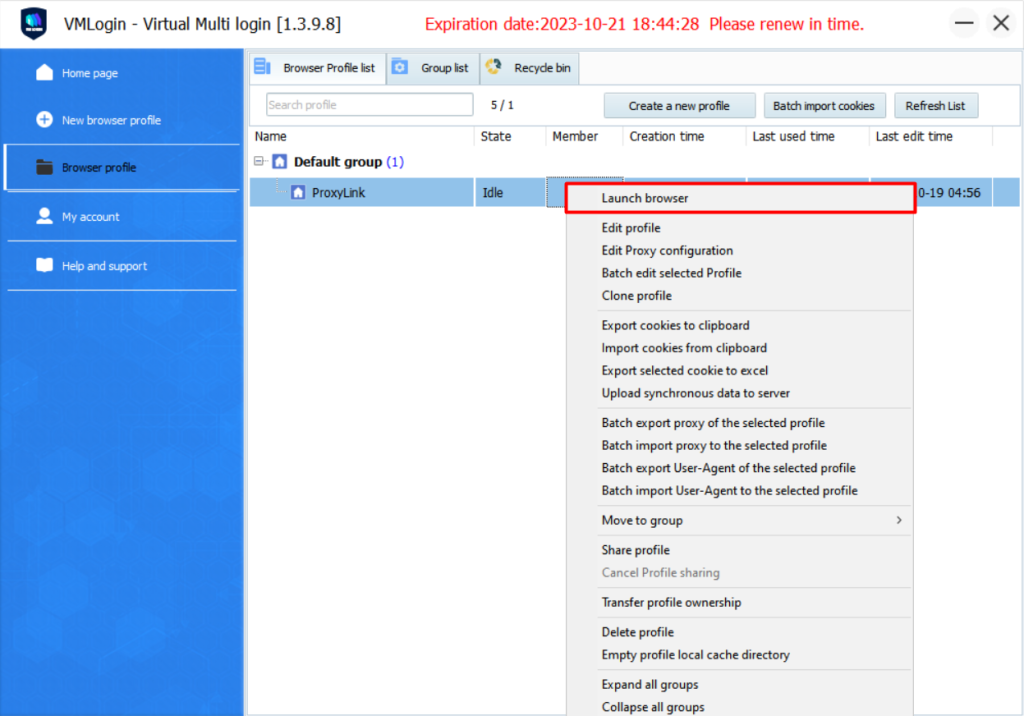
6. Lastly, launch the browser.
Conclusion
By setting up the ProxyLink within your VMLogin browser, you can have a better web experience and your online business will be more efficient. This pairing perfectly hides your real web footprint and ensures your privacy, data, and payment security.
Come and experience VMLogin and ProxyLink! New users enjoy 3-day free trial by signing up for VMLogin!