In today’s digital age, online privacy is more important than ever. Anti-detection browsers offer users a way to browse the web securely and anonymously, protecting their personal information from surveillance and tracking by advertisers, government agencies, and other third parties.
What are Anti-Detection Browsers?
Anti-detection browsers, such as MuLogin, are specialized web browsers designed to prevent websites and online services from detecting and tracking users’ activities. These browsers employ various techniques, including IP masking (with proxies), user-agent spoofing, and cookie management, to evade detection and maintain anonymity.
How to Configure ProxyLink Proxy on MuLogin
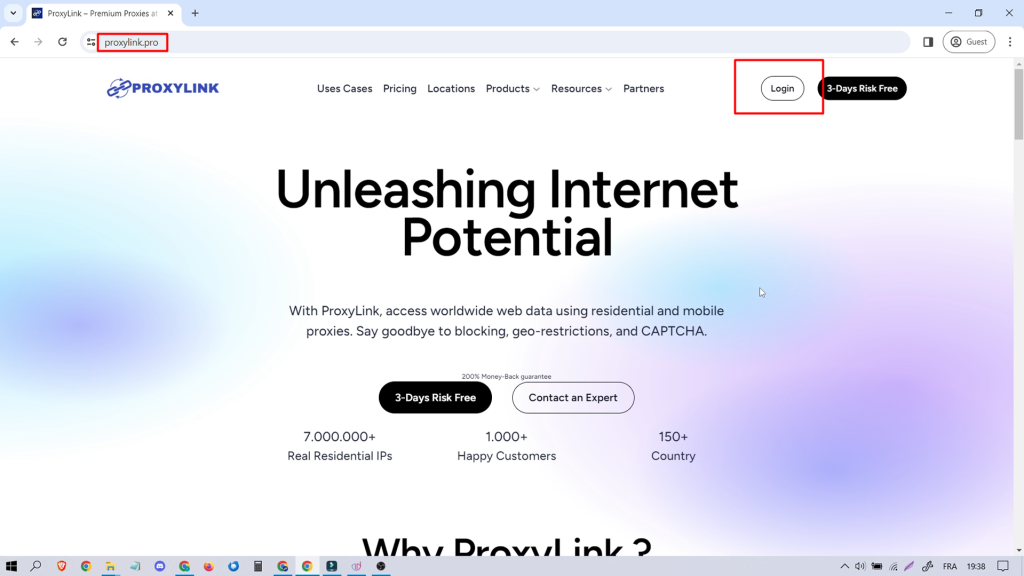
Step 1: Create Your ProxyLink Account
Visit ProxyLink
Click ‘Login’.
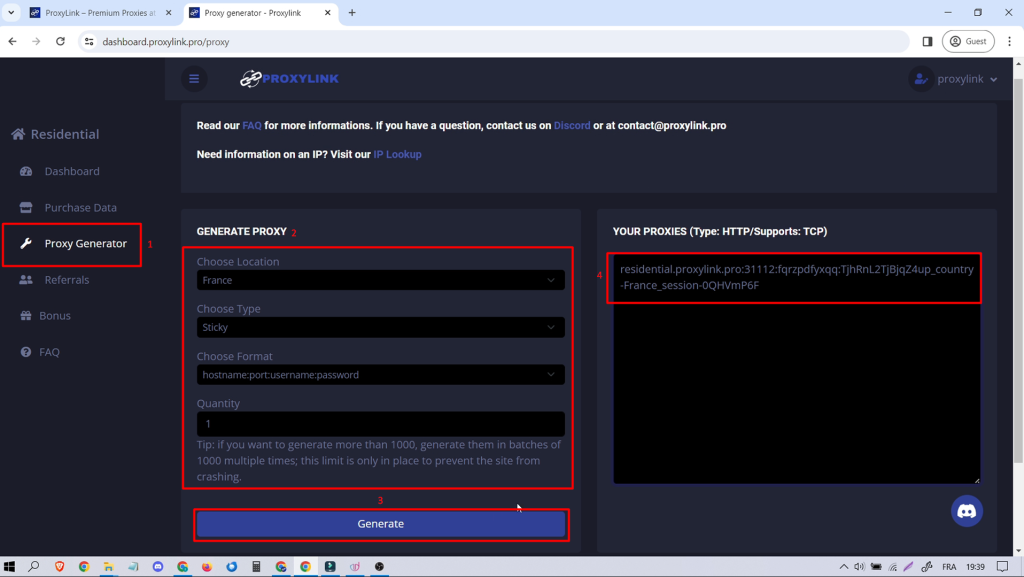
Step 2: Generate Proxy
After subscribing, go to ‘Proxy Generator.’
Choose your country and adjust settings.
Click ‘Generate’ for proxy info.
Step 3: Configure Mulogin
Open Mulogin Anti-Detect Browser. (3 days free trial)
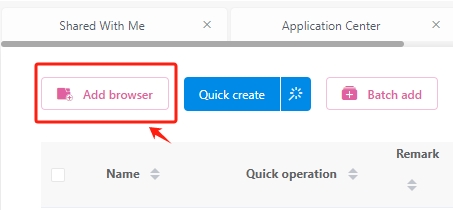
Click ‘Add Browser.’
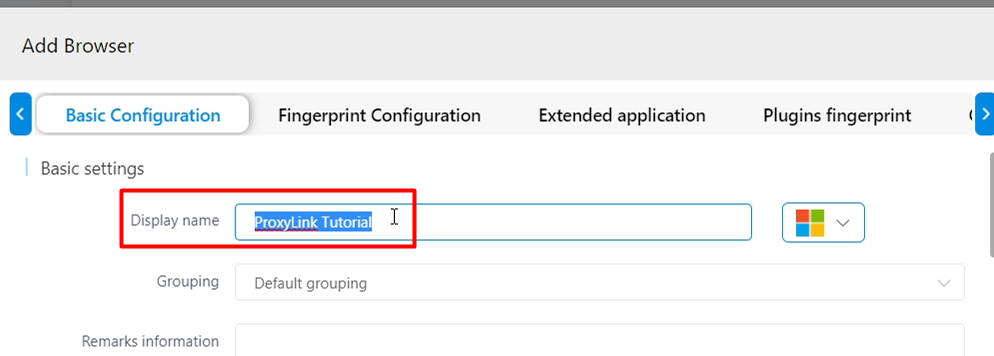
Name the browser
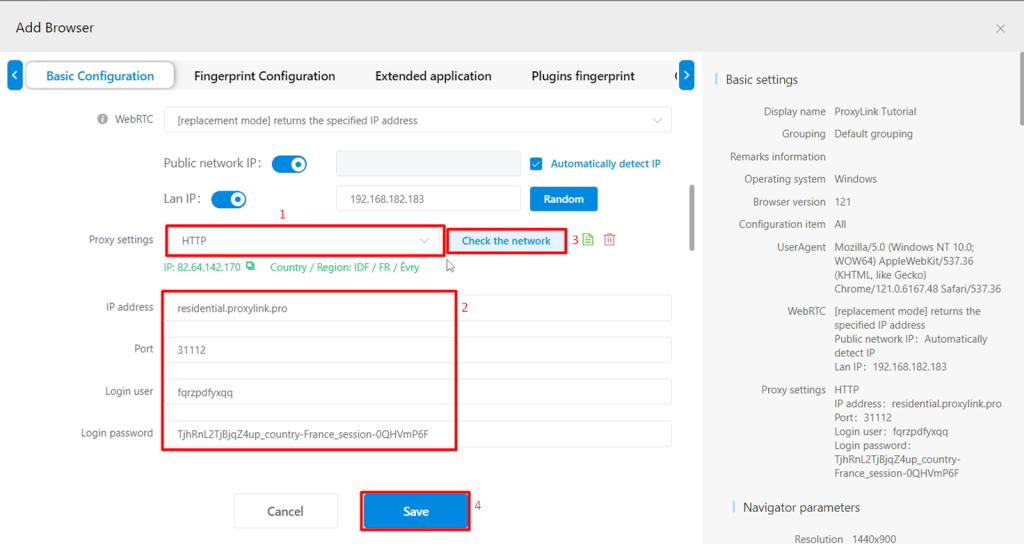
Select ‘HTTP’ in proxy settings.
Paste the generated proxy info.
Click ‘Check the network’ to verify.
If network check is successful, click ‘Save.’
Then click ‘Open’ to launch the browser with proxy settings.

Step 4: Verify IP
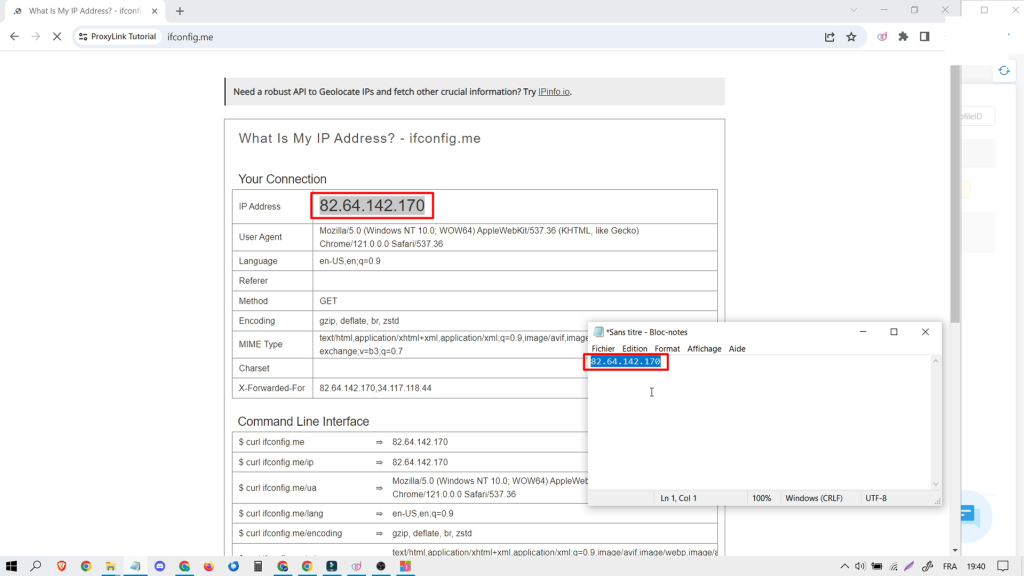
Visit ifconfig.me to confirm the displayed IP matches.
Ensures correct proxy setup.
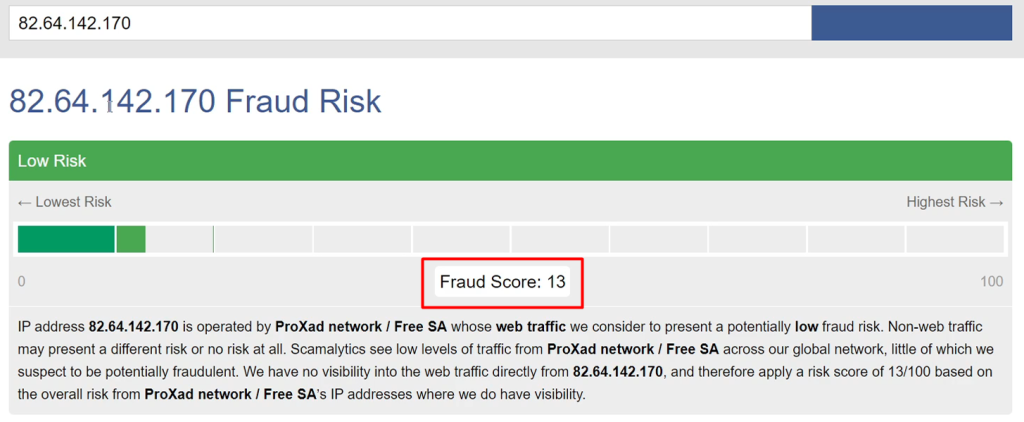
Bonus Tips – Check IP Score
Visit scamalytics.com.
Scroll, click ‘Check IP.’

A low score (e.g., 13) indicates a clean IP.
Your ProxyLink Proxies and Mulogin are set!
Enjoy enhanced privacy and security.